

Gluten-Free Double Strawberry Waffles (or Other Fruit or Chocolate Chip Waffles)
Gluten-Free Blueberry Volcano Pancake
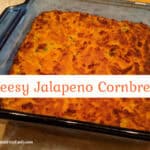
Gluten-Free Cheesy Jalapeno Cornbread (Grain Free)
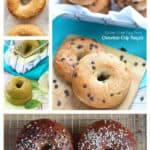
The Best Gluten-Free Bagel Recipes (Over 40 Recipes!)
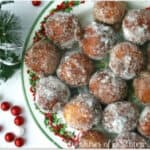
Gluten-Free Fritters (Donut Holes, aka Förtchen, Futtjens, or Ferdons)
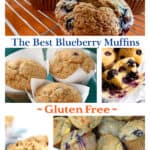
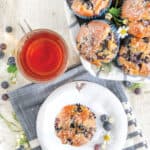
The Best Gluten-Free Blueberry Muffins (Over 20 Delicious Recipes)

150 Totally Mom-Worthy Gluten-Free Mother’s Day Brunch Recipes
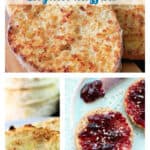
The Best Gluten-Free English Muffin Recipes
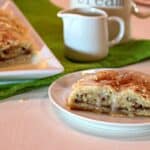
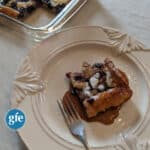
Gluten-Free Kringle for Christmas Morning (and More)

Gluten-Free Cinnamon Rolls
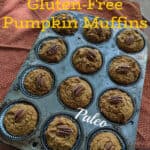
Gluten-Free Pumpkin Muffins (Grain-Free, Paleo)
Gluten-Free Peach Volcano Pancake
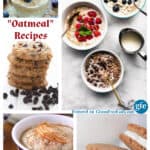
Over 20 Gluten-Free Oat-Free “Oatmeal” Recipes (Homemade Oatmeal and Oatmeal Cookies and Bars)
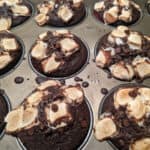
Gluten-Free Gimme S’More Muffins
Gluten-Free Blueberry Muffins (MRP-Compliant)
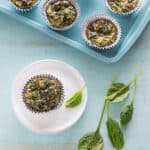
Gluten-Free Egg Muffins with Bacon and Spinach (Flourless)
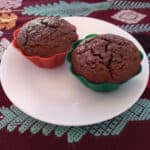
Gluten-Free Chocolate Mint Muffins (Paleo)
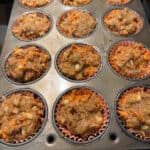
Gluten-Free Morning Glory Muffins (Paleo)
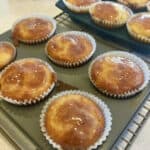
Gluten-Free Light and Fluffy Orange Muffins with Orange Glaze
- 1
- 2
- 3
- …
- 9
- Next Page »