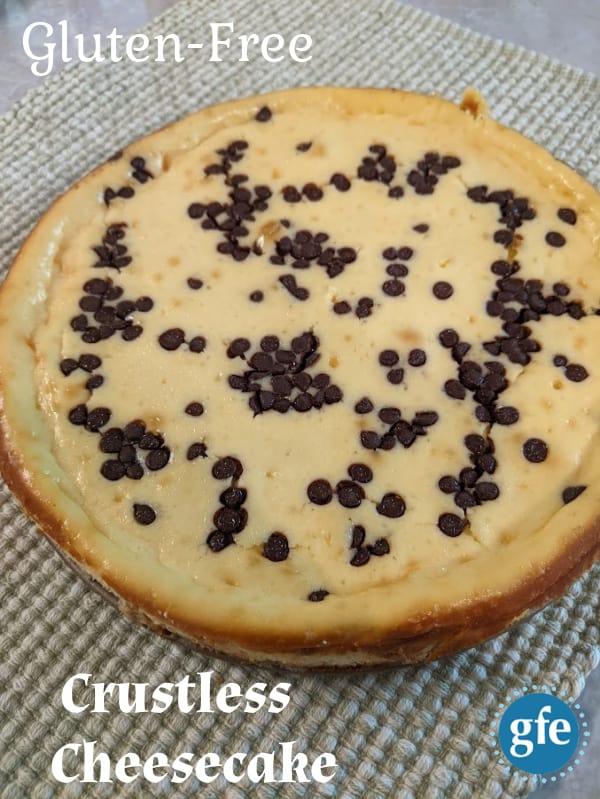
Today I want to share this wonderful Gluten-Free Crustless Cheesecake with you. This easy and delicious recipe is one that I made even before going gluten free in June 2003.
Then I forgot about it for many years before my co-worker and friend Stephanie made it for one of our gluten-free support group meetings. (I led a support group for 10 years before I retired it.)
After bringing this cheesecake to one support group meeting and garnering thankful raves, Stephanie was pretty much designated as the cheesecake maker for our group. Oh, how disappointed everyone was when she was unable to attend a meeting!
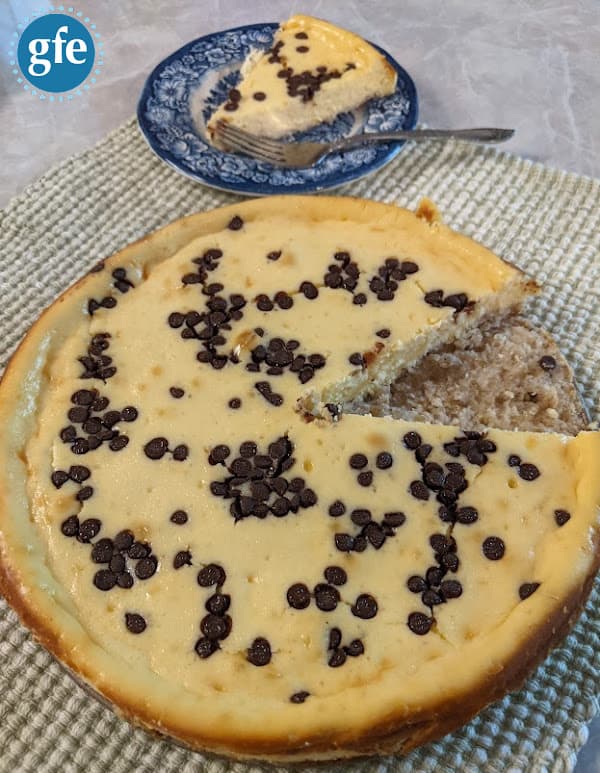
Last month, I made this cheesecake to share with my mom and gluten-free aunt. That time, I decided to add mini chocolate chips and skip the sour cream-based topping. (Not everyone in my family enjoys sour cream and I only like it in recipes when mixed with other ingredients.)
I did not stop to take beautiful photos because I planned to make this cheesecake again soon after—for a periodic gathering of gluten-free friends at my home. (I updated this post with new photos on May 31, 2023.)
That gathering happened but when the date arrived, I didn’t have the cheesecake ingredients on hand so I decided to make a new version of my Best Pumpkin Pie Ever (using a different ingredient to keep it dairy free and using my New and Improved Never-Fail No-Roll Press-In Pie Crust instead of keeping it crustless this time) and Cinnamon Apple Cake instead.
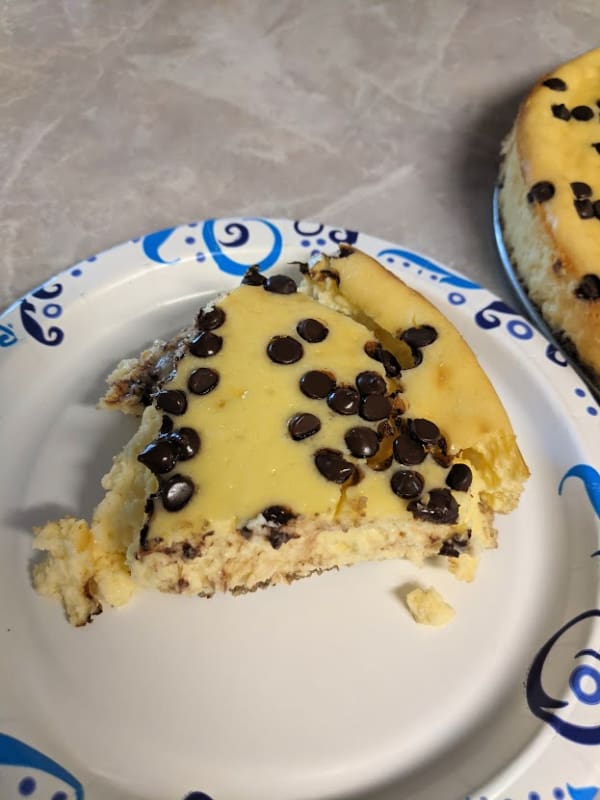
So sadly, I just have a few snapshots from sharing this cheesecake with my mom and aunt. And one of them is a slice on a paper plate because paper plates are how my mom rolls these days.
Standing for a long time to wash dishes is not an option for her and she does not want any of her visitors to be washing dishes either. So, paper plates it is.
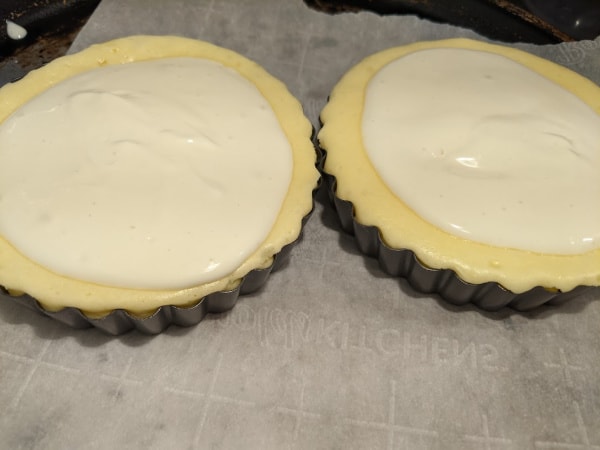
A month earlier, I had halved this recipe and made two mini crustless cheesecakes using non-stick tartlet pans as part of a meal that I enjoyed with a dear friend. That friend even fancied them up with a simple strawberry adornment after she pulled them out of the fridge.
However, when I went to take a photo before we dug in, my phone died.
Fortunately, I did get a quick snapshot of the mini cheesecakes at home—after I had pulled them out of the oven and added the topping.
In the days since, my body has started to tell me all too often, “No more cheese, please.” Sigh. (More on that subject another time.)
But if I make this cheesecake for someone else and do actually get some more blog-worthy photos, I’ll come back and update this post.
Perfect photos aside, today’s delightfully simple and delicious Gluten-Free Crustless Cheesecake exemplifies my gfe approach.
In fact, it’s a perfect example of the main focus of the gfe approach.
Eating foods—and recipes made from them—that are naturally gluten free. No special ingredients are needed!
Just everyday ingredients that you probably keep on hand. This recipe doesn’t even require gluten-free flour.
When you go gluten free, you think absolutely everything in your life must change. Of course, it is true that many things have to change to keep us truly gluten free and safe. But not everything.
Along those lines, it’s tempting to throw away all your cookbooks and all your recipes when you go gluten free. I’ve written about that tendency previously because I almost threw away my own cookbooks after going gluten free. (Other dear friends have addressed this topic as well.)
Bottom line … do not throw away those cookbooks, folks.
There are so many recipes that are naturally gluten free, meaning you simply must verify the gluten-free status of the ingredients. Most of the time such recipes are gluten free because they’re made of real food ingredients that don’t ever contain gluten and are not exposed to gluten cross contact.
Plus, there are many other recipes that you and your family already love that only require a simple substitution.
Simple substitutions like gluten-free flour mix, gluten-free soy sauce, gluten-free bread, gluten-free pasta … you get the picture.
And won’t you and your family be so happy to know you can enjoy the same recipes you always have and they will taste the same? Of course, you will!
Today’s recipe consists of two 8-ounce blocks of cream cheese, 3 eggs, granulated sugar, and vanilla extract. Plus, more granulated sugar and vanilla extract, as well as sour cream if you add the topping.
Clearly, it is not a New York-style cheesecake and honestly, that is one of the reasons that I love this cheesecake recipe. It’s much lighter and therefore, more enjoyable in my opinion.
Yes, I have loved and enjoyed New York-style cheesecake over the years but it’s always felt like I’ve eaten a very heavy meal after enjoying a slice.
Plus, with this cheesecake recipe, you simply need two blocks of cream cheese.
If you halve the recipe to make the two mini tarts, you only need a single clock of cream cheese. I love that!
Can you add this recipe as a filling to a ready-to-eat gluten-free pie crust, such as a gluten-free graham cracker crust? Absolutely.
You can also make your own gluten-free graham cracker crust or make an easy Nut Crust.
You can do that but it’s unnecessary. I and so many others I know love this recipe just as it is!
More Gluten-Free Cheesecakes and Other Gluten-Free and Crustless Recipes
~ Cheesecake with a Chocolate Brownie Crust
~ Cheesecake with Nut Crust and Optional Blueberry Topping
~ Crustless Lemon Cheesecake Pie
~ No-Bake Chocolate Chip Cheesecake
~ White Chocolate Raspberry Cheesecake
Gluten-Free Crustless Cheesecake (Flourless) Recipe
Gluten-Free Crustless Cheesecake (Flourless)
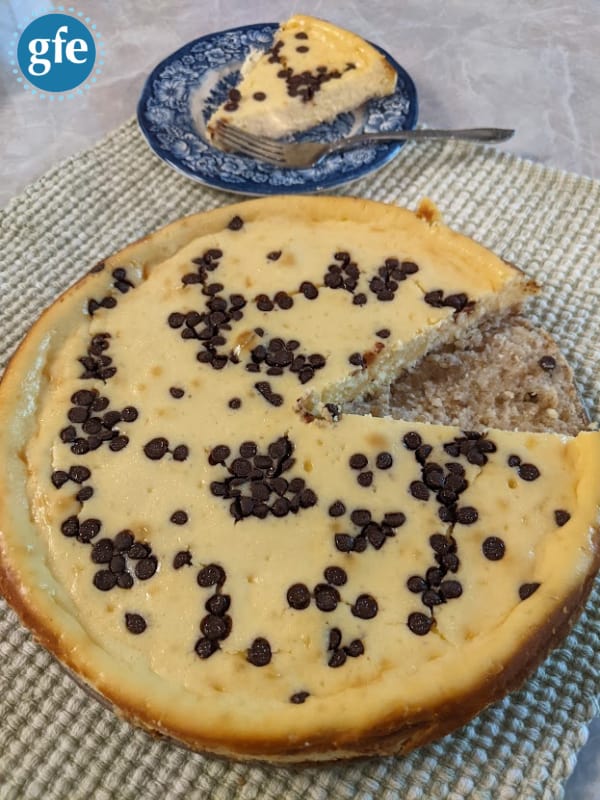
This delicious gluten-free crustless cheesecake gives you the joy of eating cheesecake without the need to make a crust and more importantly, without the dreaded heaviness that comes after enjoying traditional cheesecakes.
Ingredients
Cheesecake Batter Ingredients
- 1 lb (two 8-ounce blocks/bricks) cream cheese, softened (do not use low-fat or lower fat cream cheese)
- ½ cup granulated sugar
- 3 large eggs
- 1/8 tsp vanilla extract
Cheesecake Topping (Optional) Ingredients
- 1 cup sour cream
- 1 tsp vanilla extract
- 3 tbsp granulated sugar
- ¼ to 1/3 cup mini chocolate chips, optional
Instructions
- Add softened cream cheese to a large mixing bowl and cream with a wooden spoon.
- Add eggs one at a time, and using a mixer, beat well after each addition.
- Add granulated sugar and vanilla extract. Mix well using the mixer.
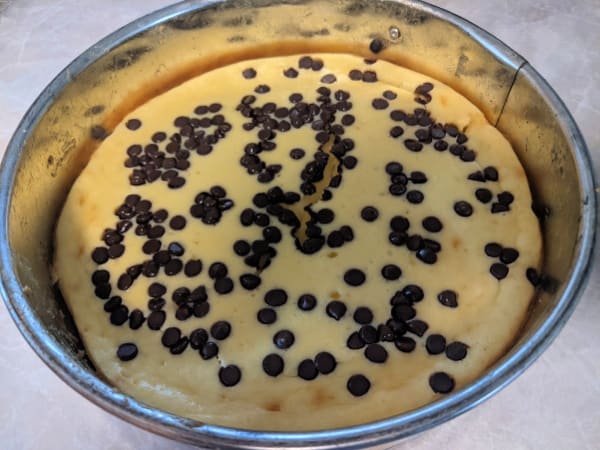
- Pour batter into a well-greased 9-inch pie plate or a well-greased 9-inch springform cake pan.
- Sprinkle chocolate chips over the batter. Do not stir.
- Bake at 325F degrees for 40 minutes or until lightly browned. Test for doneness with a toothpick.
- Let cool. (See notes.)
- If adding topping, mix topping ingredients in a small or medium mixing bowl.
- Pour topping over cheesecake, spreading to almost the edge.
- Refrigerate cheesecake for a minimum of 4 hours, preferably overnight.
Notes
If you choose to add chocolate chips, sprinkling them over the cheesecake batter versus mixing them in with other ingredients ensures that they don’t sink to the bottom of the pan. Plus, doing so makes a prettier presentation and folks immediately know that the cheesecake contains chocolate.
If using a springform pan, run a knife around the cheesecake to separate it from the pan before releasing the pan’s clamp. Do not remove the bottom of the springform pan. Serve the cheesecake with the bottom in place to prevent the cheesecake from sticking to the bottom of the pan and potentially falling apart.
If you want to halve this recipe and use two tartlet pans as I did, you halve all the ingredients, including the eggs. To achieve half an egg as part of the one and a half eggs you add, crack an egg into a small bowl, whisk it until well blended, and then measure out 2 tablespoons.
That’s it. That's how you halve an egg. Easy, right?
What do you do with the rest of the egg? Add it to scrambled eggs when you make them or cook it for a wee bit of protein topping on a salad or maybe add it to your dog’s food if they tolerate eggs well.
Re: the baking time for the tartlets, I suggest that you start checking them at 20 minutes. Reader Suzanne reported that she baked tartlets in her toaster oven and they were done in 23 minutes.
Originally published May 23, 2023; updated February 11, 2024.
Esmé Slabbert says
You have all my attention, GF, Crustless, and Cheesecake. What more does one need? Nothing!
I visited you via June 2023 Edition Hearth and Soul Link Party
If interested feel free to visit my entries for this week: #46+47 as I would love to invite you to come and share your posts and you will have an opportunity to get featured.
We’re open Monday through Saturday every week.
You will find the linkup information (1) In the Top bar under Blogging: Weekly Senior Salon Pit Stop OR 2nd image In the sidebar
We hope to meet you there virtually.
Shirley Braden says
Hi Esme–Welcome to gfe! Thanks for the kind words and the invitation to your event. 🙂 I saw your delicious no-bake mango cheesecake as well! That looked amazing!
Shirley
Suzanne R says
Hi Shirley, this looks delicious & I can’t wait to make it. If using the 2 tartlet pans, how long would you bake it please?
Shirley Braden says
Hi Suzanne–Good to see you here at gfe again! 🙂 Yikes, I’m so sorry I missed adding that info. I have in my notes to check them at 20 minutes but then I missed noting how long they actually took. I think it was longer than I expected though. Maybe 30 minutes. But I’d still check them at 20. You probably will only have to look at them to see if they’ve still got a ways to go. Now I need to re-make them to be absolutely sure of the baking time! Please report back with your results.
Shirley
Suzanne R says
Thanks for the quick repy. I halved it & made it in the tartlet pans last night. Baked in my toaster oven for 23 minutes & put them in the fridge overnight. It’s now 7am and I couldn’t wait to try them. Just had one for breakfast LOL. Perfection!
Shirley Braden says
Good morning, Suzanne! And you’ve really had a good morning as you’ve enjoyed one of these tartlets for breakfast!! 🙂 Thanks for reporting back so promptly! I will add your baking time to the recipe notes. Thanks so much!
Shirley